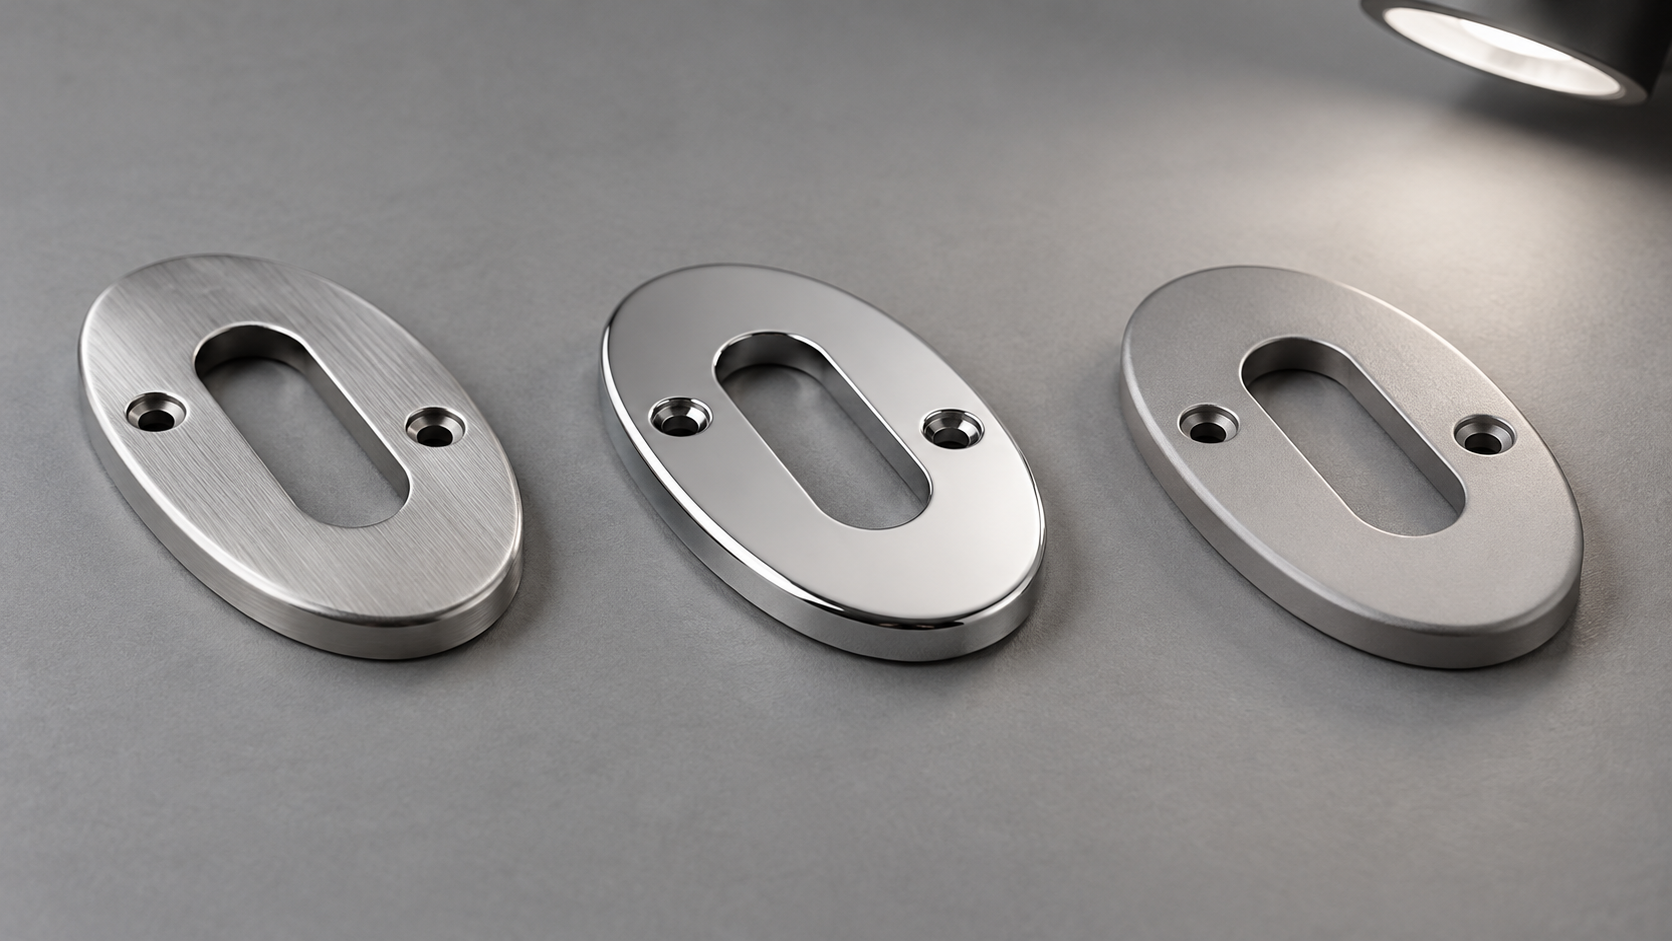
Two people can agree that a stainless part should look good and still disagree when the delivery arrives. Before ordering a visible component, turn that preference into a shared review method. Identify the surfaces that matter, the viewing conditions, and the references used to decide whether the appearance is acceptable.
For buyers replacing plated brass, the task goes beyond choosing a finish name. The stainless proposal may have a different colour, texture, or reflection. Decide what the finished product should look like, then establish how samples and later deliveries will be compared. A polished photograph is not a complete acceptance instruction.
Mark the surfaces the customer will see
Use a picture or simple drawing to identify visible areas, partly hidden areas, and surfaces concealed after assembly. Explain how the product is normally viewed. A handle seen at eye level deserves a different discussion from a bracket permanently enclosed inside a cabinet, though both still need their functional requirements.
Ask the product owner which differences affect the intended appearance. These might include the direction of a brushed finish, variation between adjacent components, or a mark on a prominent face. Keep the description specific to the actual product instead of applying the same aesthetic demand to every surface.
Our brass-to-stainless finish guide addresses the choice of finished condition. This review begins once a condition is proposed: how will different people recognize an acceptable result consistently, without adding requirements after the shipment arrives?
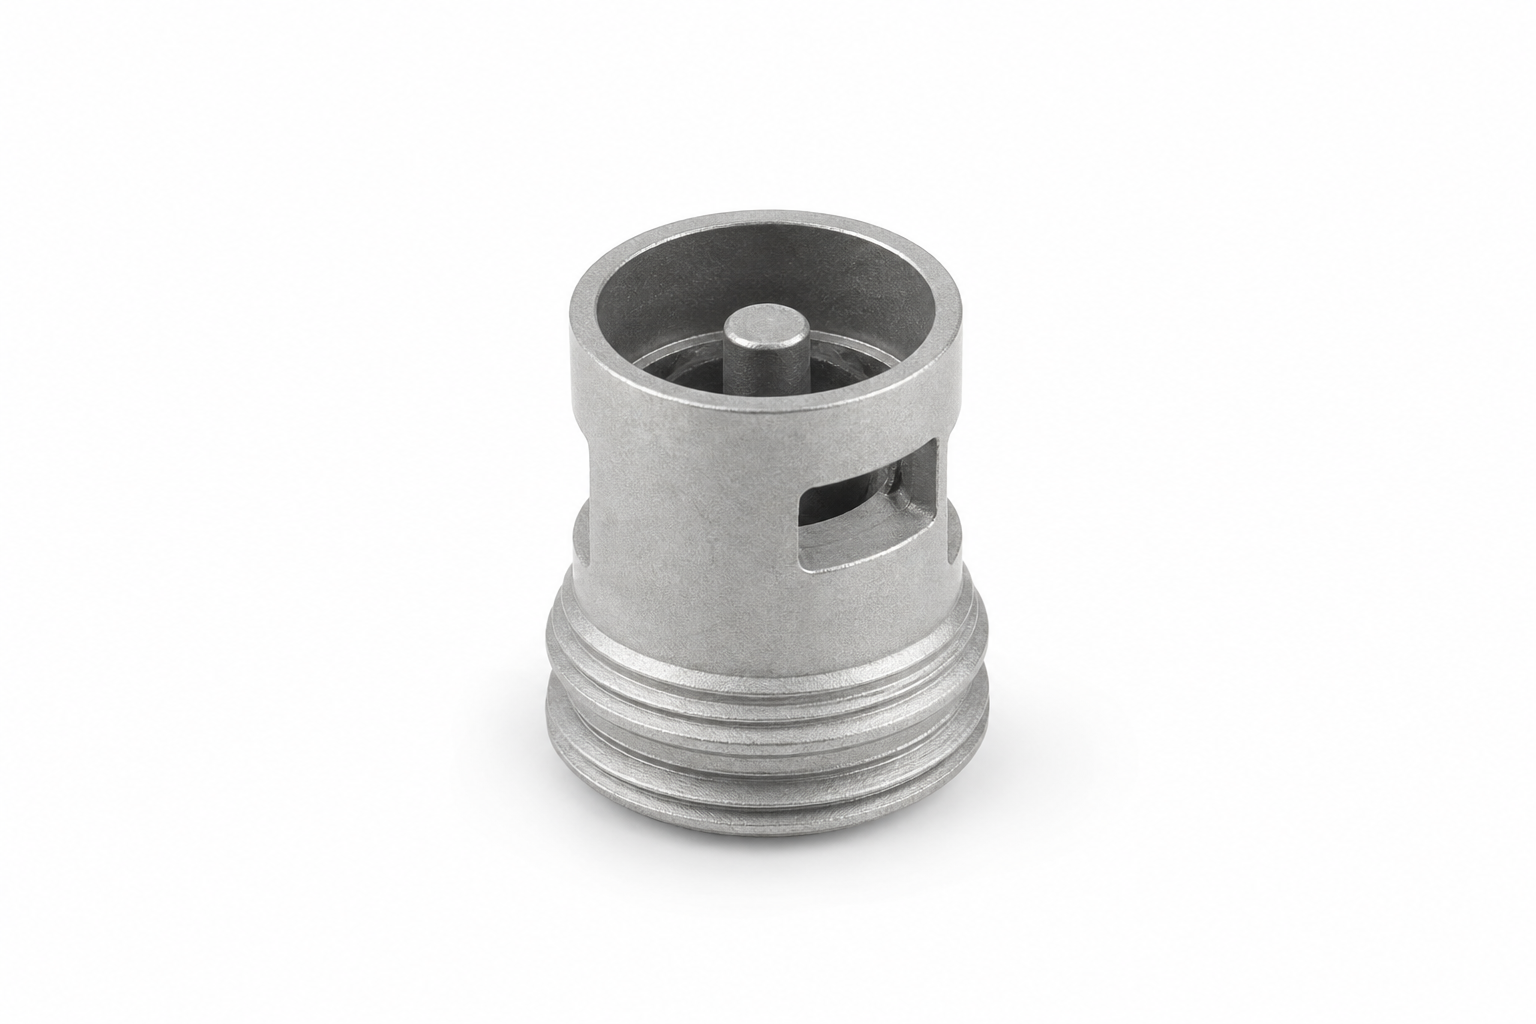
Conceptual illustration: a cylindrical metal housing with a textured outer surface and threaded base.
Connect the appearance to the proposed route
Metal Injection Molding (MIM) shapes metal powder mixed with a temporary binder in a mold, then removes the binder and heats the powder into a solid metal part. MIMA explains the route. Ask the supplier to show the appearance of the complete proposed component, including any operations after initial shaping.
CMG discusses polishing as an additional operation. A finishing option should therefore be identified in the sample description and quotation. Do not compare one sample before finishing with another after finishing and assume the difference reflects only the base material or molding process.
Separate appearance from other acceptance questions. A pleasing reflection does not establish material identity, corrosion performance, or fit. Conversely, an accepted functional test does not define whether a visible mark meets the agreed cosmetic requirement. Give each question the evidence and owner it needs.
Agree a repeatable viewing method
Have the relevant product and quality colleagues agree practical viewing conditions. Discuss lighting, viewing distance, orientation, and whether the part is examined alone or in the assembled product. Use conditions suited to the product rather than inventing a universal inspection distance or lighting level.
Record whether magnification or special equipment belongs in the check. A disagreement can arise when one person uses ordinary viewing and another judges a close-up photograph. Neither method should silently replace the agreed acceptance basis. The instruction should be clear enough for the supplier and receiving team to repeat.
For a hypothetical visible escutcheon, compare it beside the neighbouring component in its normal installed position. A surface that appears uniform on its own may look different beside another finish. Include that relationship where it matters to the customer's view of the complete product.
Use references with an identified purpose
Keep approved reference samples where they help communicate the expected result. Identify the part, finish, date, and approval scope. If examples are used to illustrate an acceptance boundary, have the responsible team agree what each example demonstrates. One attractive sample should not be assumed to describe every permitted variation.
Photographs can help explain locations and record observations, but reflections and display settings can alter how a surface appears. State when a physical sample or an agreed instrument reading governs the decision. Avoid treating a phone image sent under different lighting as an automatic replacement for the reference.
Protect the references against wear and uncontrolled replacement. A sample repeatedly handled on a receiving bench may no longer represent the condition originally approved. Assign responsibility for checking that reference samples and instructions remain usable and current as repeat orders continue.
Give disagreement a defined route
Ask reviewers to identify the exact area and the relevant criterion when they raise a concern. Preserve the part's identity and the viewing conditions used. This gives the supplier something concrete to investigate and avoids an exchange of broad statements that one batch looks better or worse.
If the requirement itself is unclear, resolve it through the appropriate product and quality owners. Do not quietly establish a stricter rule for future deliveries through an isolated receiving decision. Record any agreed change and discuss its effect on price, timing, and current stock before it becomes an ordering instruction.
The repeat-order checklist helps keep acceptance information connected to purchasing. Include the appearance reference in that package so a new buyer can order the same intended condition without relying on someone's memory of an early sample meeting.
Check protection as part of delivery planning
Once the appearance is agreed, discuss how packing and handling will preserve it. Identify surfaces that should avoid contact and how samples will be removed for inspection. An accepted finish can still be damaged between packing and assembly, so responsibilities should follow the component through those steps.
To prepare a useful discussion, send LP MIM a component image and the surfaces that matter. Include the intended finish, adjacent visible parts, and any current reference samples. The objective is an appearance requirement that can be priced, demonstrated, and reviewed consistently throughout repeat supply.
Comments
Loading comments...